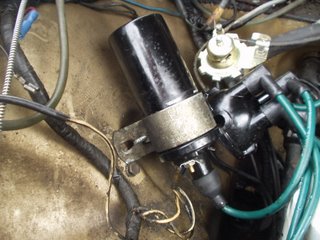
Nobody's FuelThe simple job of overhauling the carbs has turned into one of my typical sagas. What with having a number of other distractions diverting my time and of course a limit to my funds things have ground to a halt. Well you probably guessed that from the fact that I had not posted a log for a few days.
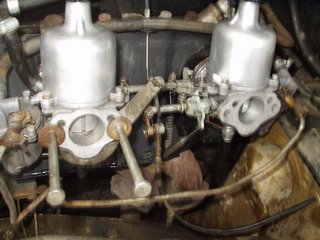
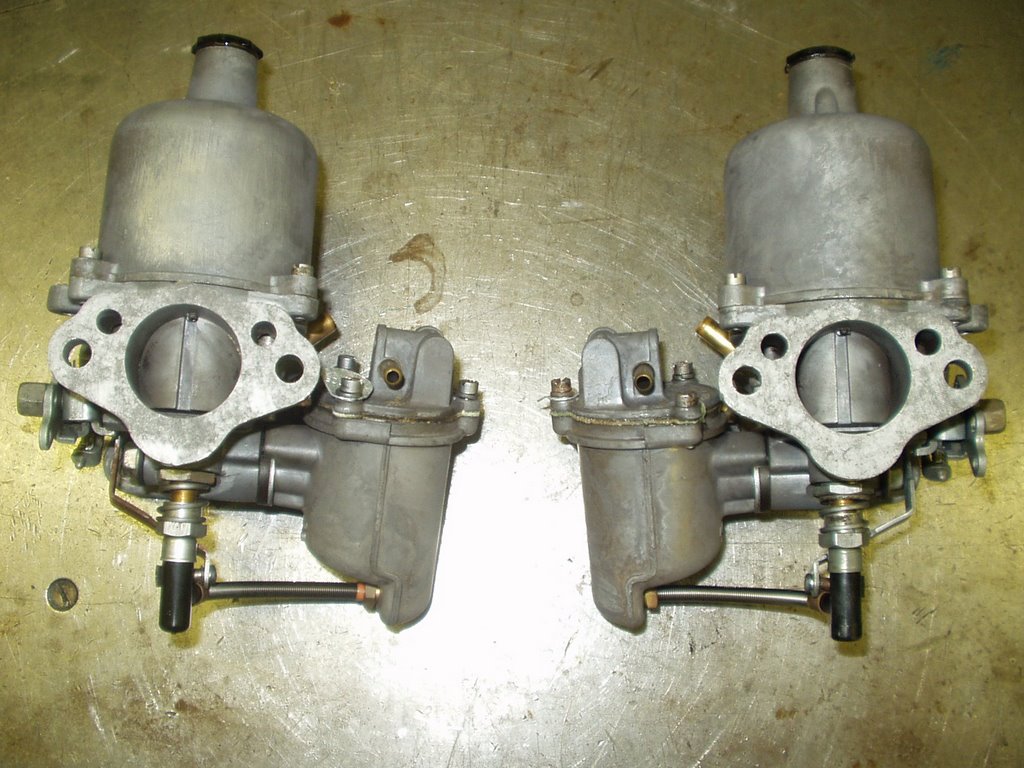
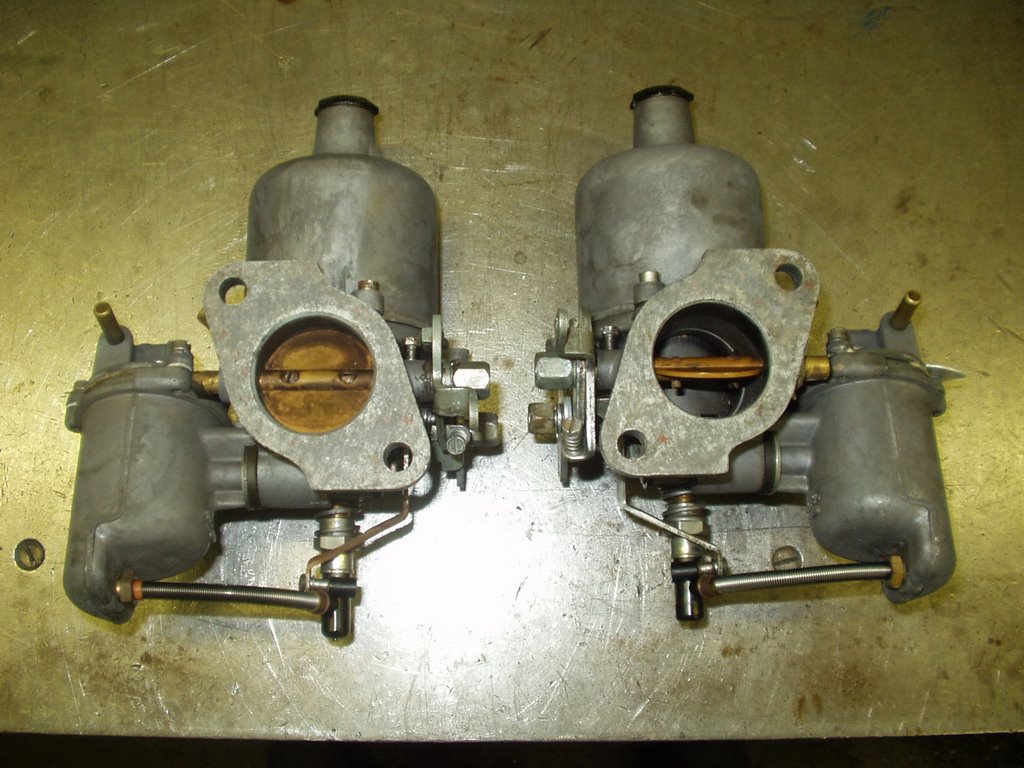
Well here goes. I removed the carbs for overhaul as I spotted a rebuild kit on ebay for hs carbs. Ideal I thought. The photo was not great but I could make out the spindles and butterflies which at least showed it to be a rebuild kit rather than just a service kit. I made my bid at the last minute as I always try to do and duely won it. I cleaned the carbs up in preparation of the imminent arrival of the rebuild kit. I discovered that the heat shield was cracked (not ideal but the crack was not in a position that would affect the operation of the shield) so needs to be welded.
Once I have welded the crack and ground down the weld I will give it a coat of high temperature exhaust paint then need to find some material to replace the two pads that should be fitted to the shield to reduce the radiated heat from the exhaust affecting the operation of the carbs.
When the rebuild kit arrived through the post I was all set to repair my carbs and get the car tuned up. But, yeh, theres always a but. The kit turned out to be for the later HIF carbs not the HS. Doh.
Now I was in a bit of a spot as I had just sold a pair of HIF carbs I had as spares as I thought I would not need them. As the guy who sold the kit had made a genuine mistake I saw no point in creating the hassle of returning it and getting a refund. I would just sell it on and hope to make a profit (you'll be suprised). I will use the money to buy the correct kit for my carbs.
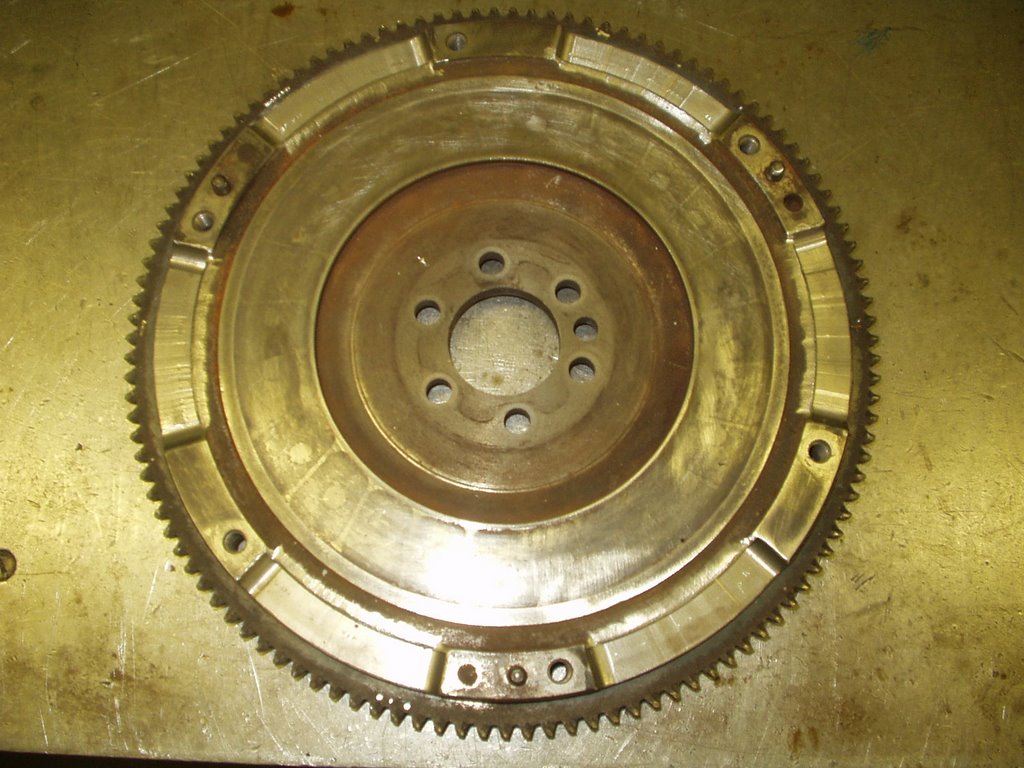
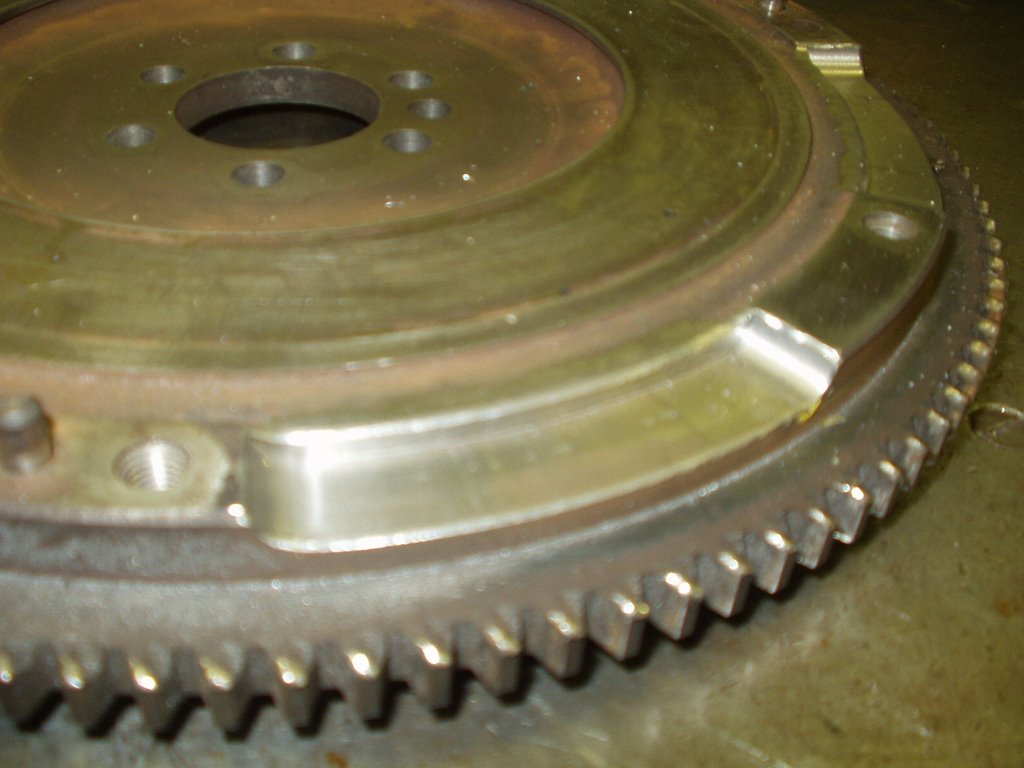
Before I came to this conclusion I did have a get out of jail free card. Some time ago, when I first found out I was to be getting the MG I was looking out for parts (where no less than ebay) and found a complete engine described as in good condition. Not having a huge amount of spare cash at the time I convinced my mate (a fellow MGB owner) that it would be a good idea to have a spares engine and that we could go halves on it. So a deal was done and the auction won. £20 each and it was ours. It included everything except the starter motor. so all in not a bad deal provieded it turns out to be as described. I'll keep you posted on that.
So I did have access to a spare set of carbs that I could rebuild using my kit. I called my mate and he started to um and ar over the phone as he was not happy with the way his engine was running (smokey on start up and a little smokey when reved) so was thinking of swapping the engines over and was not keen for me to remove the carbs that came with it. Not a problem then I will have the carbs off the engine currently in his car. Job done problem solved. Well not quite. I decided it would be better if I arranged to speak to him in person to sort out the situation. Besides I still had to take round the mounting arms for an engine stand I took round for him after we picked the engine up. A little Give on my part will allow me to Take the carbs home with me. Or so I thought.
My Saturday was already busy. I had to go the post office to pick up a parcel I had not been in to receive but as luck would have it the collection office was in the same town as my mates house, so two birds with one stone. The other job I had planned was to go to my other mates house and do some more work to my 1961 Austin A40 Farina Countryman. Yes it's one of my other projects. Besides it's about time I mentioned it. I had arrange to be there for 10am, after the post office and sorting out the mg carbs. Well that never happened.
When I got to friend 1's house we talked about which carbs I was to have and somehow I got talked into helping him for a bit. He wanted my help to get the engine on it's stand. The bolts that came with it were metric and obviously of no use on an MGB block. We needed UNF bolts. I decided the best place to pick up on was to remove four of the 3/8" bolts holding the engine back plate on. That way he could get the engine mounted ready for cleaning, painting and what ever else he wanted to do with it. After trying a local hardware store in town then a well known car spares shop for the bolts I had a flash of inspiration and remembered a small shop at the edge of town that deals with old motorcycles and stainless steel items. We drove there and the lady behind the counter sorted us out four 3/8" unf by 3" bolts out of stainless steel of course (more expensive than mild steel and over speced for what we needed really but a bolt is a bolt and did the job) so £6 was handed over for the bolts and washers. We then messed about trying to mount the engine stand plate to the block in a position that all four arms could be used and the assembly would be fairly well balanced. This took longer than expected but we got there in the end. Next, how to insert the mounting plate tube inside the tube on the stand, with no lifting gear and no room to swing a cat. Well with the use of a high lift jack and some brute force and ignorance we got it on the stand. Job done now lets sort out the carbs please.
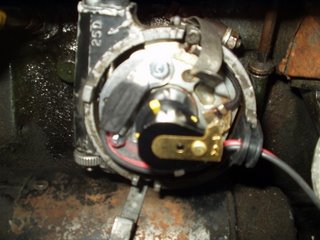
I asked why de was determined to use the carbs on the replacement engine rather than the ones on his car which I new to have worked. He told me he removed the carbs and cleaned them. When they were put back on the car started but would not run and had been that way since. Ok lets hope its a quick fix. I lifted the dashpot pistons and could see the jets sticking about 1/4" above the bridge of the carb. It should be flush or slightly below not this far above. I removed the carbs and stripped them. I sat on the floor outside his garage. Turned the carb upside down to remove the float chamber cap, and promptly pored the contents of the piston damper all down my leg. Great, more haste less speed. I decided to remove the dashpot and piston before I got any more oil down me. As I did this the petrol that was in the float chamber poured out the carb all down the same leg and on my lap. Boy am I having a bad morning.
After stripping the carb the problem was obvious. The jet should locate in a bimetalic bracket that is also used for adjusting the idle mixture. It had been fitted above it thus making it 1/4" too high. Sorted. A quick clean and reassembly of both carbs soon saw them refitted. Unfortunately by now the petrol I had poured down myself was beginning to burn my crown jewels. I told him I was going to use his bathroom and gave myself a thourough wash. No detail required there. You get the idea.
The linkage was not touched as this had not been tampered with. Just need to run the engine up and see if this has cured the problem. I'll soon be on my way. You guessed it. No chance. The battery was flat as were the two front tyres. After pumping the tyres up and rolling the car outside we were able to jump start it. After waiting a second or two for the fuel to reach the carbs I turned the key and after a little cranking the engine fired and ran. Great, just get it warmed up and set the mixture using the lifting pins. The engine would not run properly at all and was reving very high, like 3000rpm. No doubt due to incorrect adjustment following the initial carb cleaning incident. It took about an hour to finally get it up to temperature and to run off choke at a sensible idle speed. I got it to idle at just under 1000rpm and the mixture was close enough for now. I really had to get going. He was happy with what we had managed to get done but then he ought to be, I though I was just going round there to pick up a pair of carbs.
We then discussed what to do next. I tried to convince him there was nothing wrong with the carbs fitted to his engine and that I would come round another time and check the compressions, set the timing, ballance the carbs and set the mixtures up properly. As his car is a project car and some way off of being ready for the road I can not see the logic of swapping the engines over and running the risk that the new untested engine could be worse that what he currently has fitted. I suggested getting a starter motor and rigging the engine up so we could run it and test the oil pressure and compressions and check it for mechanical noises and smoke. My suggestion was to finish off the electrical work and get the car ready for an mot before changing the engine. With any luck the engine may be ok for the emissions test (but if it wasn't then he has a spare to use) and he could then get a deffinite job list from the mot man on what he needs to do before it is road legal.
I ended up leaving him with that thought and had to get to mate No.2's house for what I was suposed to be doing. The time was now 1pm and by the time I got there I was 3 1/2 hours late. I appologised and was promtly served up lunch. Much appreciated I have to say. I will not go into the work on the A40 as it deserves an entry all of its own. Suffice to say you may have guessed that I left Mate No.1 with no carbs. All in all not a very good day. Time to hit the bottle, which I promptly did and stayed out until 4am Sunday. The result of that? A ruined Sunday due to hangover and tiredness. Tomorrow is another day so wish me luck.
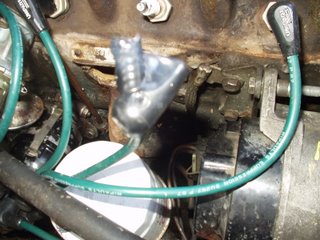
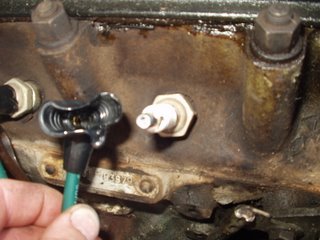
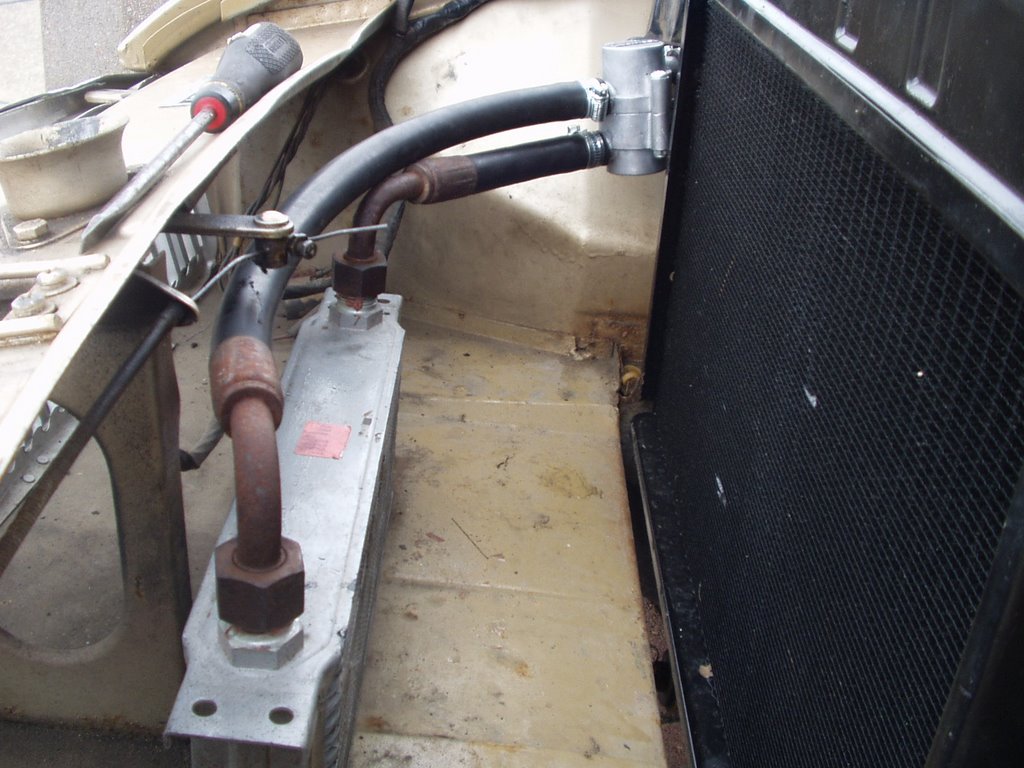 I have not tightened any of the joints as I'm sure I will have to remove the hoses to get the block painted and the core plug fitted. At least this mod should speed up the warm up time of the engine and the oil and ensure the oil is operating at its optimum temperature.
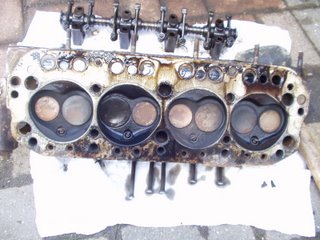
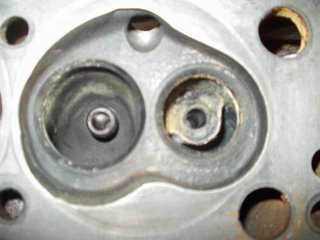

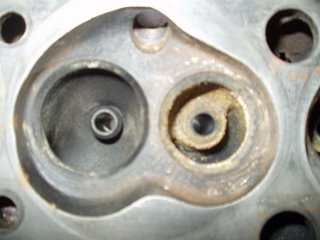
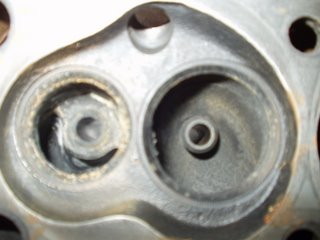
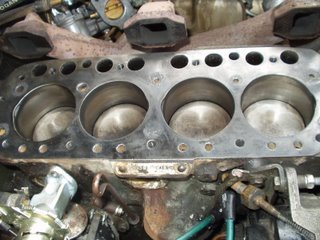
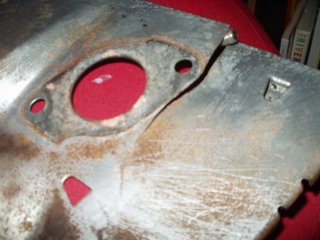
 I had obviously done some damage so I decided to pull the head off and have a look. Just need to decided what to do. Do I buy a gasket set and give the head a quick regrind and skim and get the car back on the road or do I take the time now to invest in the car by carrying out an unleaded conversion. Hum, choices choices.
 All I need to do now is let it cool down then drive it home nice and steady. One cup of tea and a few brownie points with the mother in law later, I was on my way. I did not bother to re fill the rad as it would only have come straight out the core plug hole anyway. Off I went. After about 1 mile the car began to pink really badly, probably caused by the hot engine. I continued on.
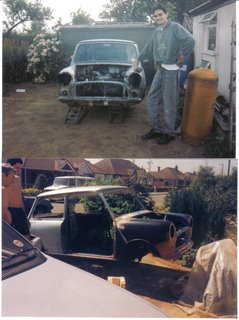

