Anyone fancy an MG? It's going Cheap!
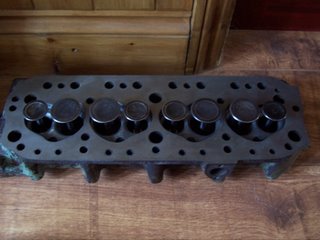
Well I finally managed to reassemble the engine this afternoon. The carbs were bolted on, the exhaust was fitted and bolted up. I set the tappets. The only way I could turn the engine over was by putting it in gear and pulling the car forward as I did not have a socket large enough to fit the crank pully bolt. MENTAL NOTE. Buy the right size socket as soon as possible.
I then spun the engine over on the starter to check for oil pressure. It took a while but it did finally start to climb. I connected the coil, fitted the plugs and had to reuse the melted HT leads as I could not find the old ones I took off when these ones were fitted. No.2 lead is the only one that does not fit the plug very well. I had to close it up with some mole grips. It's still loose but better than it was. It was ready to fire up. Oh yeh, I did put the fuel in as well. After a bit of cranking there was no sign of it starting so I moved the dizzy a little at a time and finally got it to fire. It started well but I noticed some oil spraying out from under the bonnet. I stopped the engine to investigate. One of the oil cooler pipes was not fully tight. I started it again. The next problem was an oil leak under the front carb. I hoped it was not the head gasket and decided it must be the breather cover on the side of the block. I took the carbs back off and removed the breather to find the cork gasket had moved when it was installed. I repositioned it and fitted all the bits back on. I started it again and seem to have cured the oil leaks.
Of course there had to be some other problems.
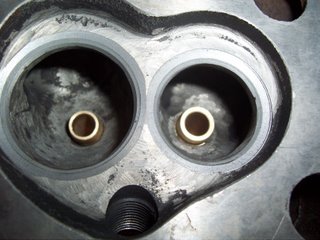
The car now has a very annoying chirping cheep cheep sound comming from the exhaust/back end of the car. I hope it is not an internal engine problem with the sound exiting out the tail pipe. Lets just hope it is either the chrome tail pipe I fitted or one of the mounts for the exhaust or a pipe joint. The core plug that I fitted has a small leak at its lower edge. This may well have something to do with the fact I fitted it the wrong way round (oops) I will have to get another one and keep it to hand. I also noticed what looked like small amounts of water comming from the head to block joint on the drivers side of the engine. It was very small and did not seem to get any worse. Lets hope it was just some of the grease I applied to the surfaces melting and running out. The rear exhaust port seems to have a small leak most likely down to the manifold face which was a little erroded. As I plan to fit my tubular manifold soon I am not that concerned with this problem. The tappet adjuster screw for No'4 valve has stripped it's thread in the lock nut so needs to be replaced. I have a new one and will change it when I re-torque the head and re-check the tappets.
Good news is the smoke has gone (for now) and is only evident if reved really hard. At idle there is only a faint whisp which could still be grease being burnt off. The oil pressure is good, about 60psi cold at idle and 40 plus hot idle picking up instantly to 60plus psi when reved. The temperature gauge seems to work accurately and I can now see that the thermostat is opening at just over 80 degrees.
Now all I have to do tomorrow is check for any leaks overnight. Sort out the coil bracket by slotting one of the mounting holes. Investigate the exhaust chirping noise. Refit the rear bumper (removed to test fit the tow bar I bought) and find a switch to replace the wiper switch that fell to peices when I was sorting out the wiring behind the dash. I must do all this when I get home from work and then drive the car about 6 miles for it's MOT test. Fingers crossed it will get there. Fingers crossed it will pass. Fingers crossed it will get me home again. Once I have finished unfolding my fingers I then have to finish doing up my trailer so it can be put up for sale.
Wish me luck.
posted by michael mjn @ 2:42 PM
0 comments
![]()
![]()
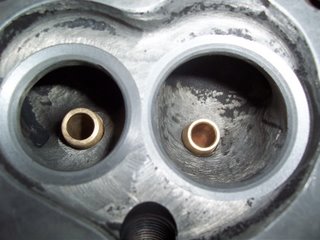 Bosses cylinder 2
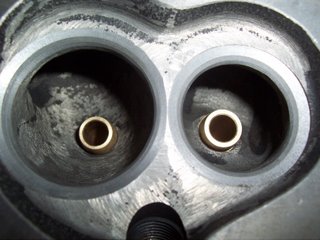
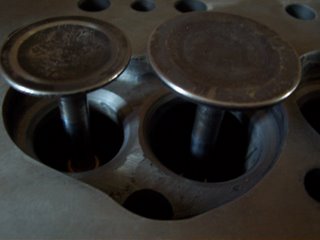
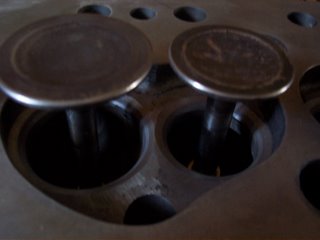 Chamber 3
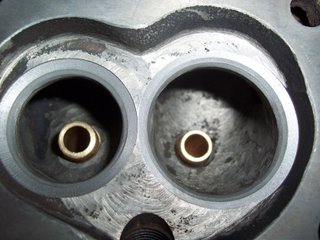
 Chamber 4